
Helix Reports provides in-depth reporting and data configuration out of the box with its standard reports. However, there are times when you want to do something different or custom that is not supported by the Helix Reports default reports.
To meet this need, Helix Reports offers an OData feed that you can use to connect custom reporting tools. OData is a standard data connection mechanism that is appropriate for accessing data across the Internet and is supported without significant configuration in many reporting tools, including Power BI by Microsoft.
This article will walk you through connecting Power BI to the Helix Report OData connection.
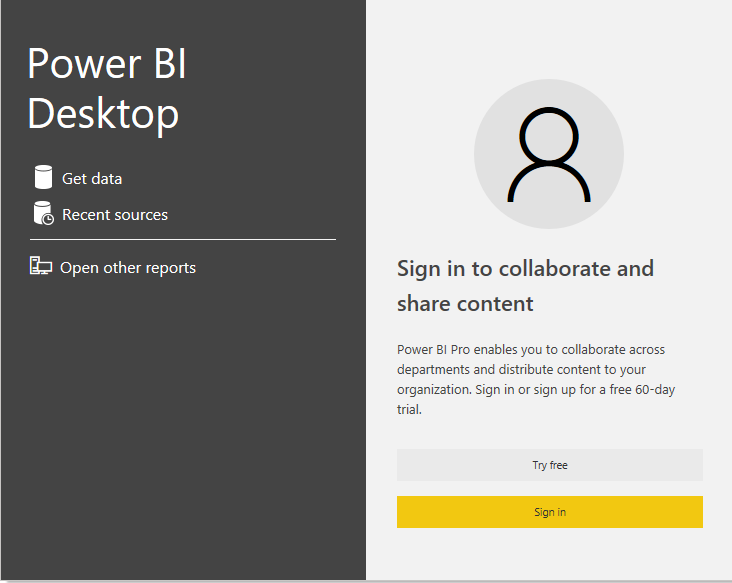
When you first start Power BI you can select your data sources:
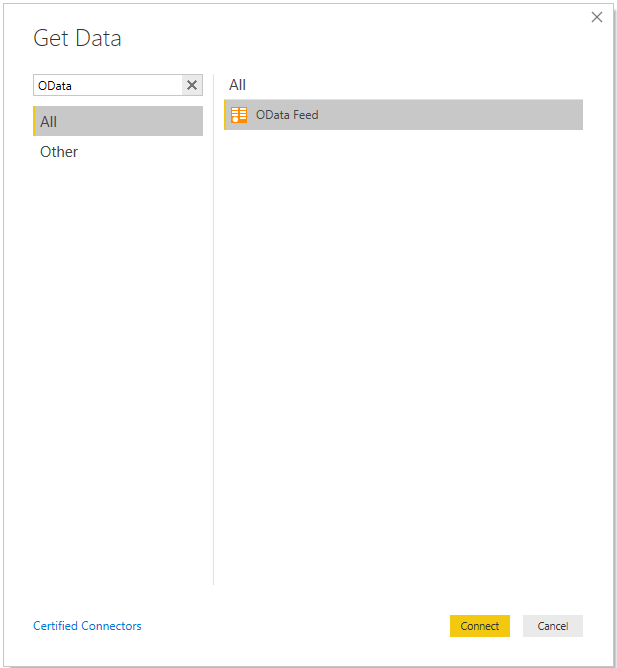
Select Get Data and then type OData and Select OData Feed and press Connect.
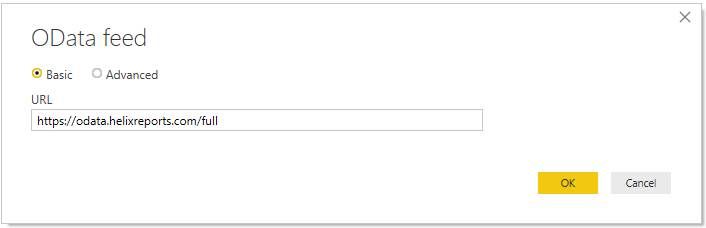
On the next screen type Choose the appropriate URL and click OK:
https://odata.helixreports.com/full
This URL will provide the full data view. This gives full transaction details with the tradeoff that the full data pull may be slow and take one or two minutes as it pulls all of the data.
https://odata.helixreports.com/monthly
The monthly measure provides a summarized view where all of the transaction information is totaled for the end of the month. The data for the current month is broken down by day. Because the data is summarized, there are several parts that are missing, notably the transaction details as well as the source name details as well as open balance.
There are many types of reports which will only require the data available in the monthly view and by using this view you can greatly decrease your refresh times especially on slower internet connections.
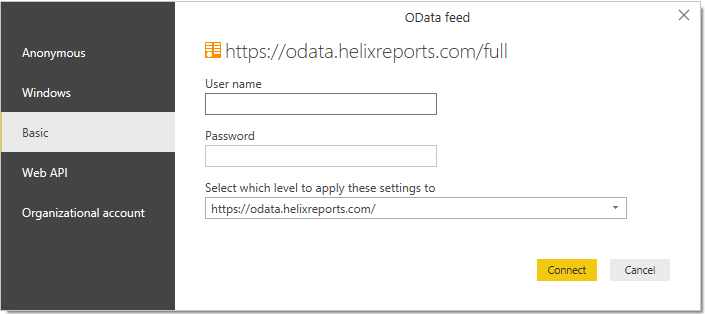
You will then be prompted for your credentials. Choose basic authentication and enter your username and password and choose connect:
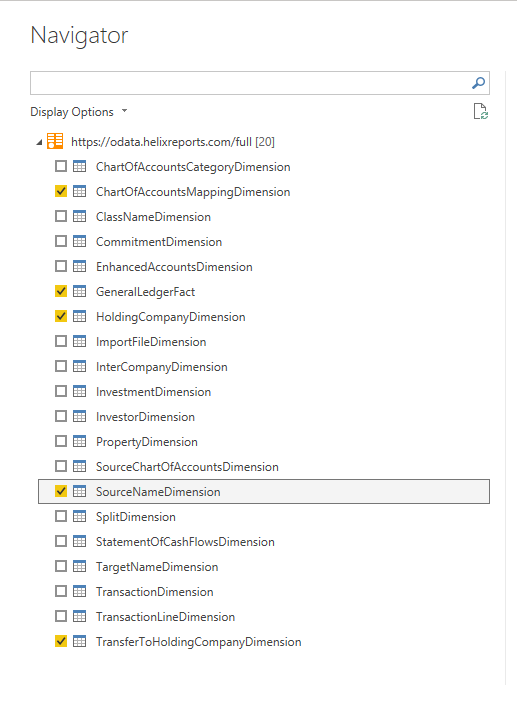
On the next screen choose the relevant tables that you need for your report and click load
You are now ready to start using Power BI to make your reports.
Comments
0 comments
Article is closed for comments.